For those of you who are looking to do something a little different with your Christmas tree this year, we’ve got the perfect project for you. This faux Christmas tree planter is the perfect alternative to a tree skirt for a unique Christmas tree this holiday season.
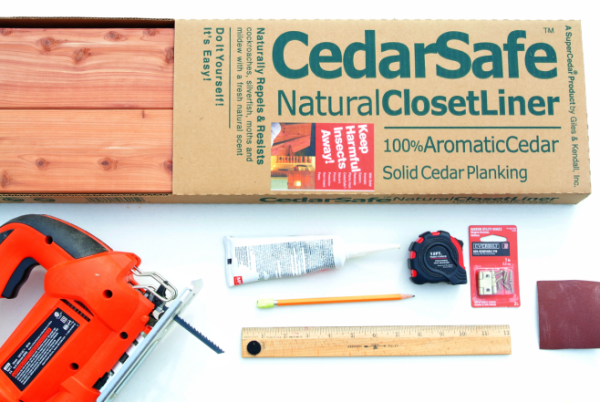
You’ll need:
- 12 CedarSafe Tongue & Groove Planks (available at most major retailers – visit cedarsafe.com for more information)
- Wood Glue
- A Saw
- A Ruler and Measuring Tape
- 1”x2” wood scraps (2 pieces at least 6”-7” long)
- A Drill and Screwdriver
- Hinges
We decided that our faux planter dimensions would be 36 inches at the bottom and 30 inches at the top based on a tree height of 7 ½ – 8 feet and a 28-inch diameter tree stand. However you can choose a width for your faux planter that best fits the size of your tree.
Start with three boards lined up side by side, fitting together the tongues and grooves. On the bottom board, measure across thirty six inches from the edge and mark it with a pencil. On the top board, make two marks from the end, one at 3 inches and the other at 33 inches.
You can use your ruler to connect the dots to form a diagonal across the three boards. Do this for each of the four sides, and then cut along the lines you drew. Make sure to save the scrap wood because you’ll be using it in the next step!
If you have a steady hand, you can cut the boards with a jigsaw similar to the photo above, but a miter saw would give you a more accurate cut and angle.
Now that all your pieces are cut, fit your sides back together and use the scrap wood as a backing to glue your boards.
Once you’ve done this for all four sides of your planter, wait a couple of hours for your glue to dry. You may even want to put something heavy over the scrap pieces of planking as they dry, to ensure good adhesion to the planks. You’ll want the backing to be very sturdy before connecting the sides
In the next step, you will attach the sides of your planter. Since the planks are only ¼” thick, you will need a piece of 1”x2” wood to connect two sides to one another. You will do this by screwing in each side of the planter into the 1”x2” wood to create a corner. First, drill a hole in the top and bottom of your planter side where it will adhere to the 1”x2” wood. Make sure the screws from each side will not intersect by staggering the holes.
With the first piece, line up your 1”x2” wood on the backside of the planters, and drill a screw into the holes you made earlier. Then line up your second side and screw it into the 1”x2” wood to create a corner.
Repeat the previous steps to create a three-sided box.
The last side will be connected by hinges, so you can open your planter and place it around your tree. We used an additional piece of scrap wood to connect the hinge to the back of each planter side, so the screws wouldn’t go through the front of our planter. Line up your hinges and draw a spot to drill the holes, and then screw each side of the hinge to the planter.
Now you should have a 4-sided box with one side that opens like a door! Put it around your tree and start showing it off!


